
CO₂ sensor with ESPHome
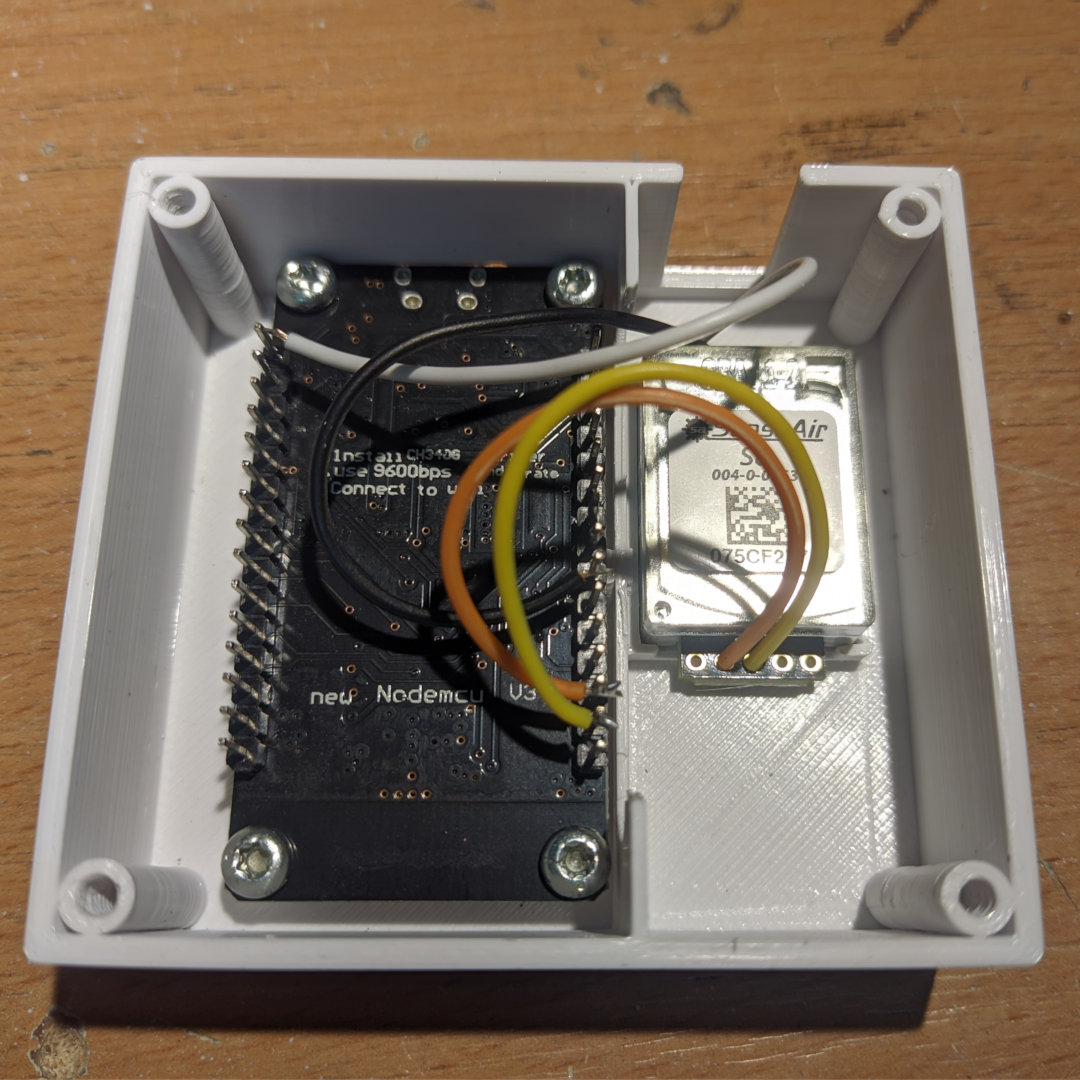
It’s getting ridiculously easy to make sensors for your smart home these days. I’ve built a carbon dioxide sensor using Senseair S8 LP (bought here) and ESP8266 NodeMCU board with native Home Assistant integration using ESPHome framework. Here are the steps:
First, install ESPHome:
python3 -m venv venvsource venv/bin/activatepip3 install esphomeThen create a YAML config for the project. The code below will allow sensor discovery in Home Assistant and will publish CO₂ concentration and air quality string periodically. Note that air quality rating is more or less my compilation of data I found in various sources online. If you have a solid source for that, please let me know.
substitutions:
  refresh: 600s # Read sensor every 10 minutes.

esphome:
  name: roomair

esp8266:
  board: nodemcuv2

wifi:
  ssid: "SSID"
  password: "password"
  # Enable fallback hotspot in case wifi connection fails.
  ap:
    ssid: "Roomair Fallback Hotspot"
    password: "password"

# Enable Home Assistant integration.
api:

# Enable updates over Wifi.
ota:

# Optionally enable built-in web server.
# web_server:
#   port: 80

# Enable debug logging.
logger:

# Senseair S8 sensor.
uart:
  rx_pin: D1
  tx_pin: D2
  baud_rate: 9600

sensor:
  - platform: senseair
    id: senseair1
    co2:
      name: "Senseair CO2 Value"
      on_value_range:
        - below: 600
          then:
            - text_sensor.template.publish:
                id: senseair1aq
                state: "Excellent"
        - above: 600
          below: 800
          then:
            - text_sensor.template.publish:
                id: senseair1aq
                state: "Good"
        - above: 800
          below: 1000
          then:
            - text_sensor.template.publish:
                id: senseair1aq
                state: "Fair"
        - above: 1000
          below: 1500
          then:
            - text_sensor.template.publish:
                id: senseair1aq
                state: "Mediocre"
        - above: 1500
          below: 2000
          then:
            - text_sensor.template.publish:
                id: senseair1aq
                state: "Bad"
        - above: 2000
          then:
            - text_sensor.template.publish:
                id: senseair1aq
                state: "Dangerous"
    update_interval: ${refresh}

text_sensor:
  - platform: template
    name: "Senseair Air Quality"
    id: senseair1aq
    icon: "mdi:checkbox-marked-circle-outline"
    update_interval: never
Customize as needed, connect the sensor to the board, plug the board into the USB port and then compile and flash:
source venv/bin/activateesphome run senseair.yaml --device=/dev/ttyACM0Replace /dev/ttyACM0 with whatever name which appears when you connect the board. If you have OTA enabled, further updates can be done via network and “--device=” part is no longer needed. To just see the logs, use
esphome logs senseair.yamlBy default the sensor calibrates itself every week, setting the lowest observed value to natural outdoor CO₂ concentration (around 400 ppm). You can add a virtual button allowing you to force calibration from Home Assistant. Just add this section to the end of the config above:
button:
- platform: template
name: "Force Senseair calibration"
id: calib_button
icon: "mdi:wrench"
on_press:
then:
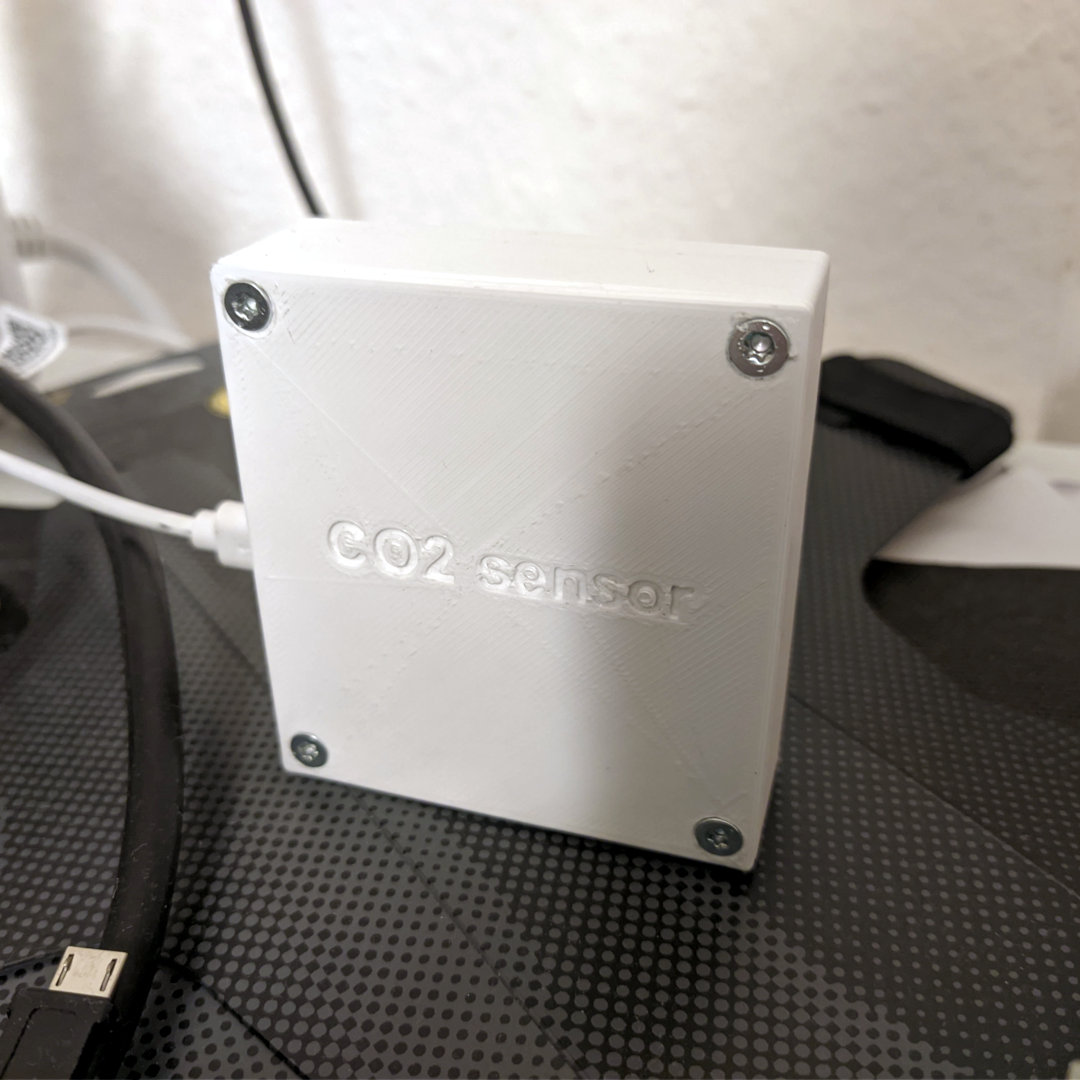
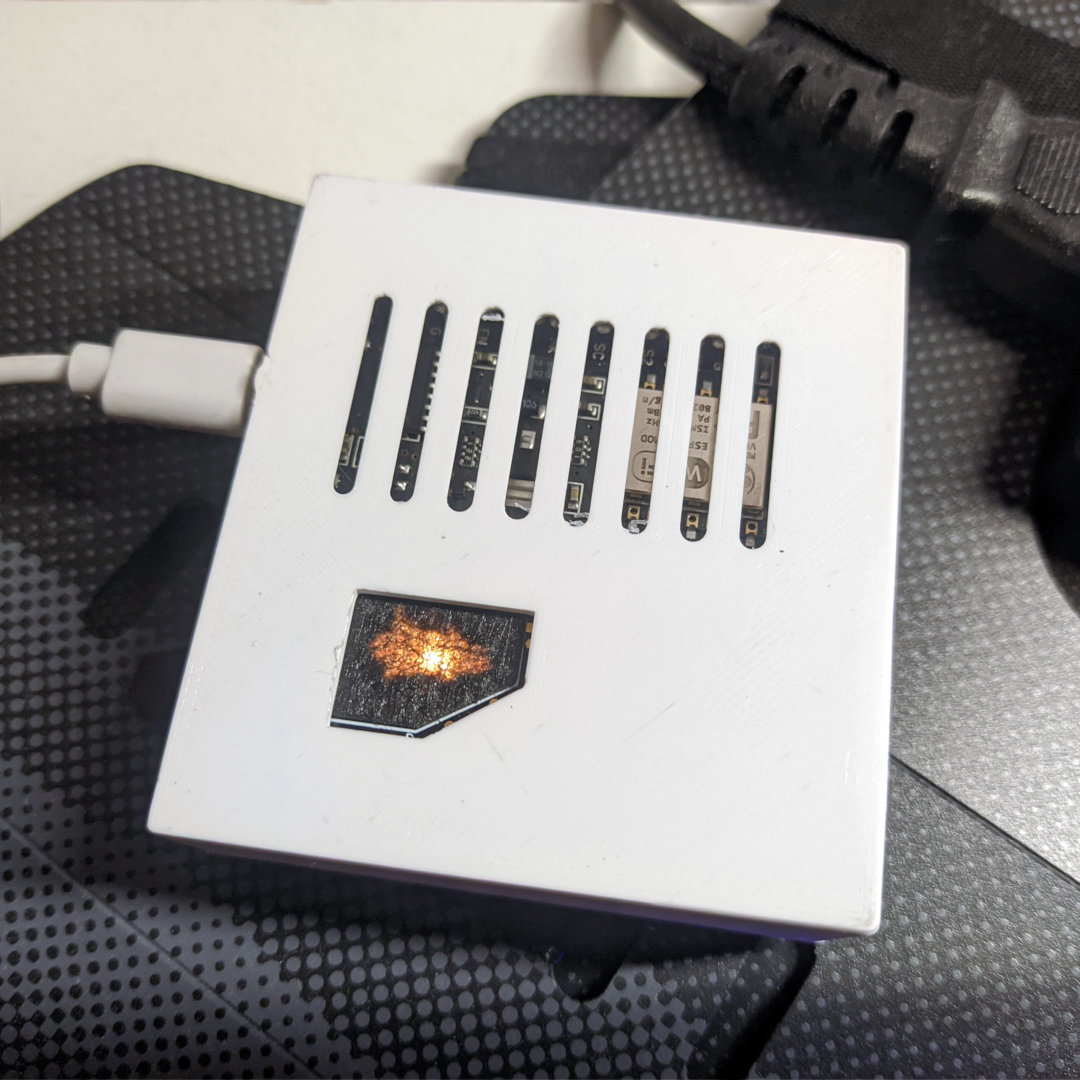
- senseair.background_calibration: senseair1I also had this case 3D-printed. The sensor clamp was too tight and broke off but the sensor holds somehow.
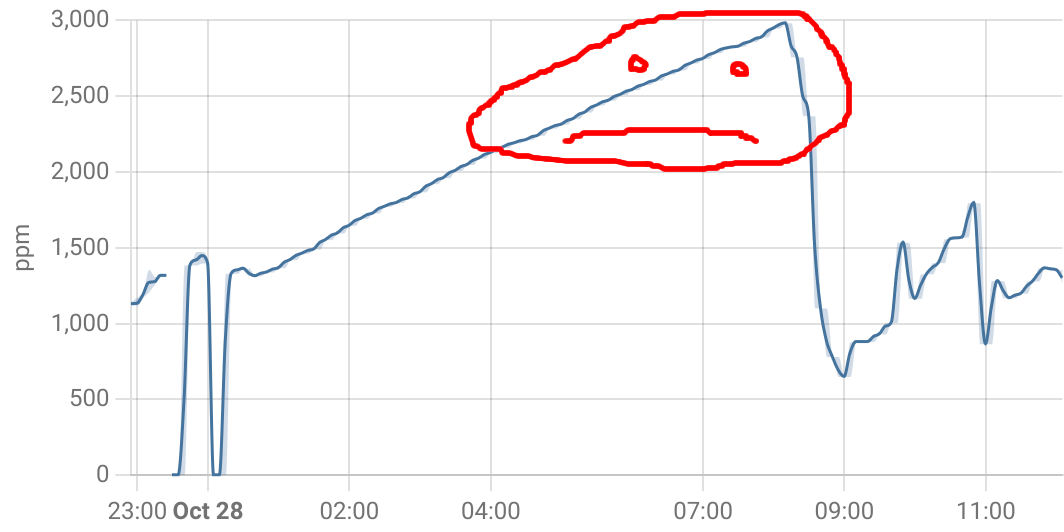
The very first data showed that it’s very important to shock ventilate the room before sleep in cold season. Basically half of my sleep time was with dangerous CO₂ levels (over 2000 ppm).
You can read more on the toxicity of carbon dioxide on Wikipedia.
 BY-NC-SA